Soups

Spicy Coco-Squash Soup

PREP TIME:  20 MINUTES   COOK TIME: 1 HOUR   FEEDS: 6 AS A MAIN COURSE 

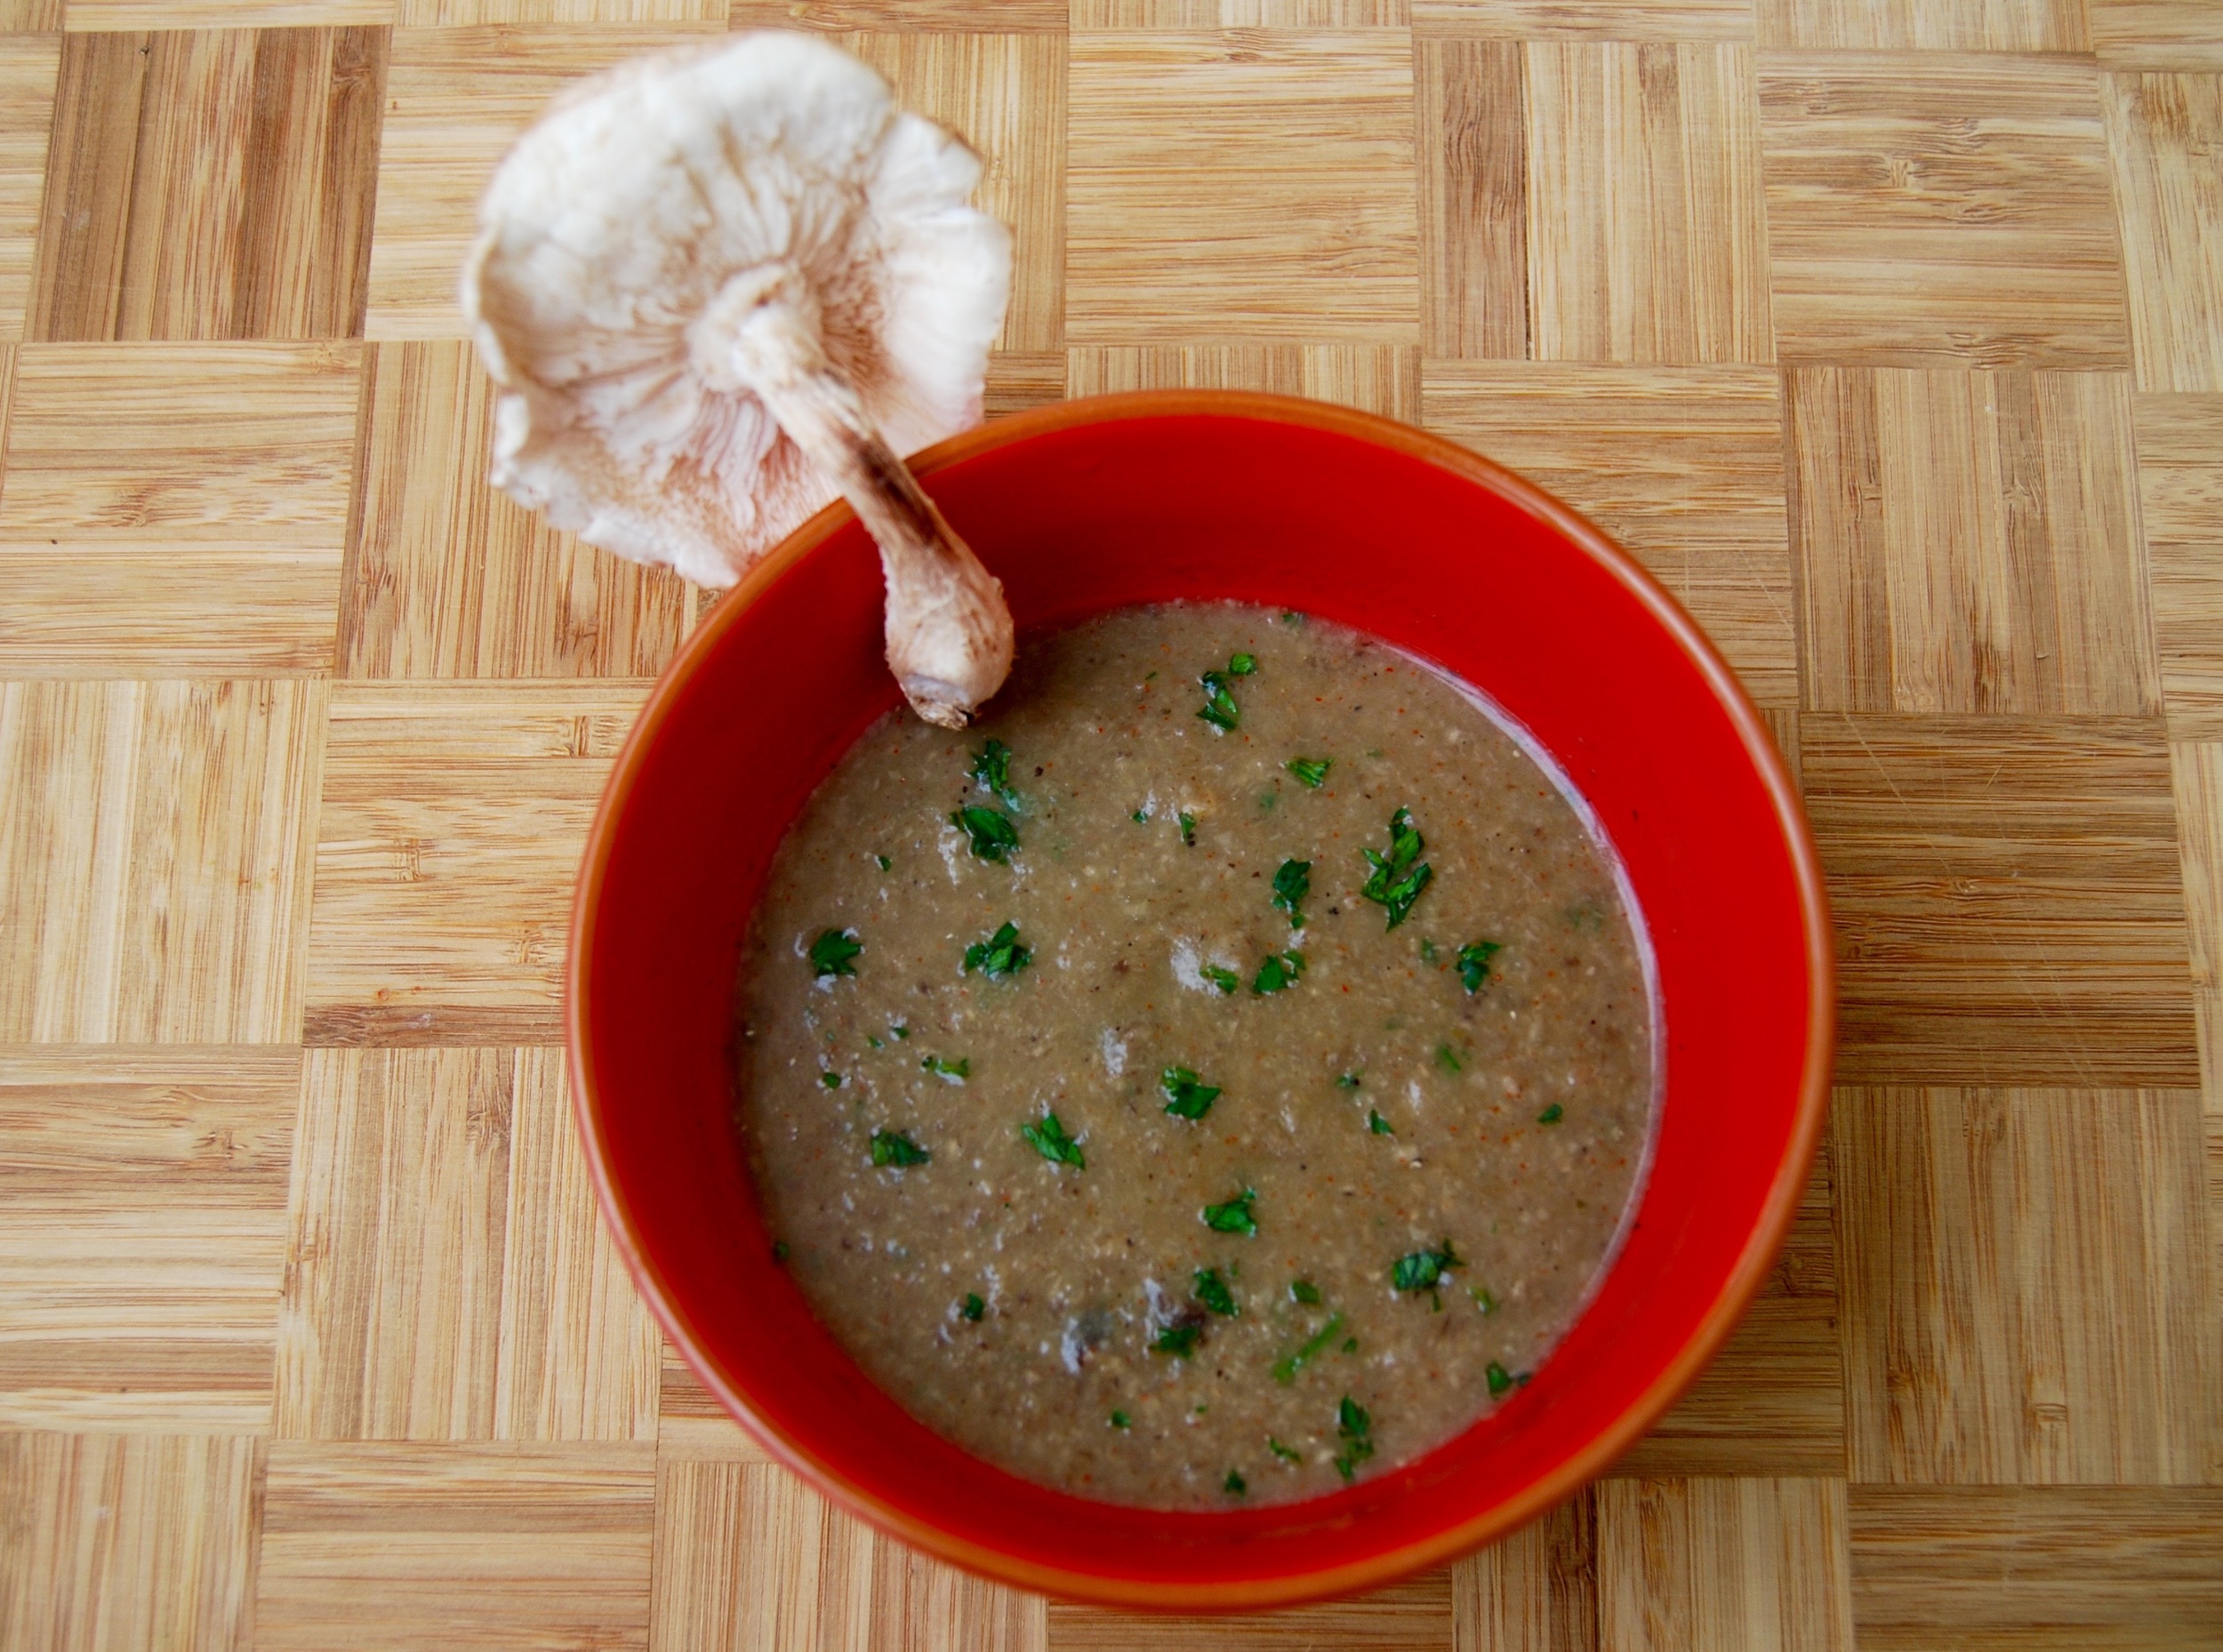
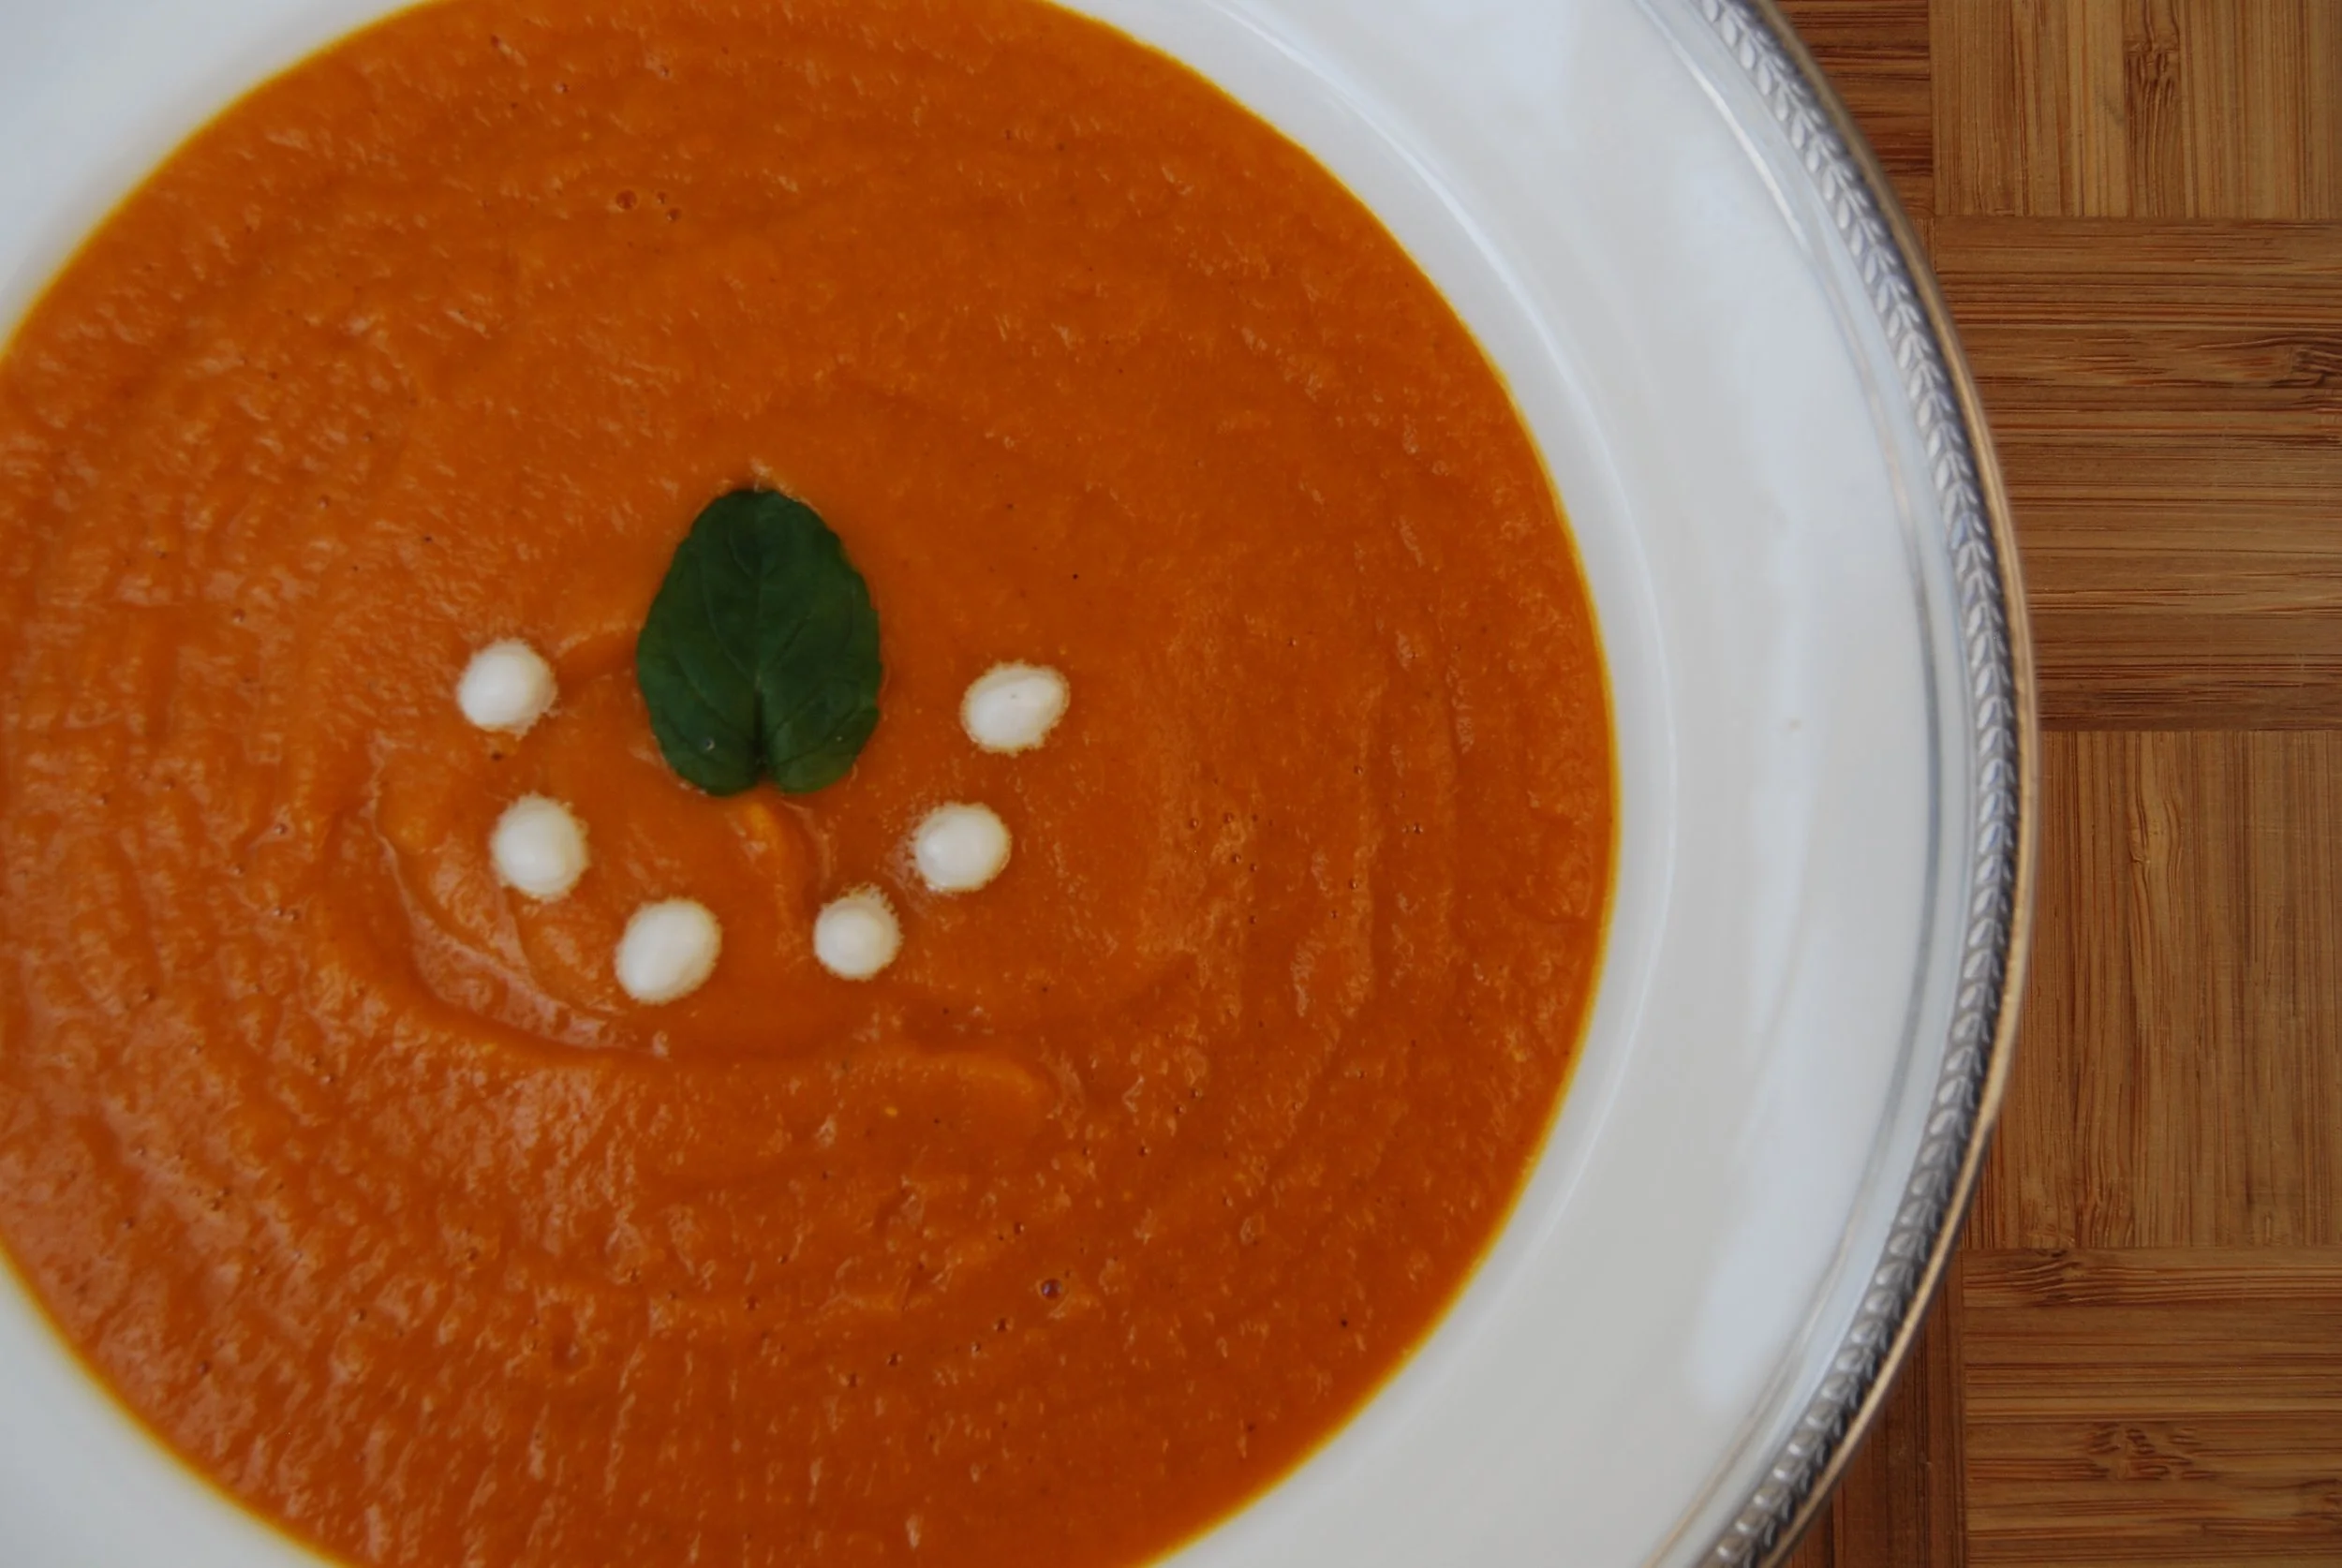
It had been such a long, cold winter and the very thought of a warming soup was on the top of my list when my mother-in-law asked me to contribute to a family dinner. To increase the intensity of flavors, I roasted the squash, garlic and ginger. It was well worth it.

NUTRITIONAL BITES

You may already know that butternut squash is loaded with antioxidant carotenoids to protect your body’s cells from damaging free radicals but did you also know that it is a rich source of dietary fibre, helping to keep little and big tummies satisfied for longer?  Well now you do and you can feel good about all that. 

Roasting Part

1 butternut squash
1 head of garlic
1” thumb sized piece of ginger (keep the skin on if organic)
½ Tbsp. coconut oil
2 teaspoons olive oil
Sea salt and ground black pepper

Other Ingredients

1 sweet white onion
1 teaspoon of coconut oil
1 ½ teaspoon smoked paprika
½ cup of light coconut milk (from BPA free lined can, preferably)
½ cup of filtered water 

LET'S COOK!

  1. Set oven to 375F and line a baking tray with parchment paper (preferably unbleached/chlorine free).

  2. Cut the squash from the tip to the stem and pull apart into two halves, scooping out the seeds and all the stringy bits.

  3. Using your fingers, cover the squash inside and out with the coconut oil and then sprinkle salt and pepper over the fleshy side (this part doubles as a hand moisturizer).

  4. Cut the top off the head of garlic, just enough to expose the raw garlic and then dribble the olive oil down into the cloves and season with salt and pepper.

  5. Dribble the other teaspoon of olive oil on to the ginger and massage in all over and then add the ginger and garlic to the tray for roasting.

  6. Cook for 50 minutes or until the flesh of the squash is soft, when you poke it with a fork. (The garlic and ginger will be cooked before the squash so they are ready to come out too)

  7. Whilst everything is cooling down, dice up the onion and sauté with coconut oil at a medium to high heat so that onions start to ‘catch” and get a little burnt around the edges, - this amps up the flavour.

  8. Add in the smoked paprika and sauté for another few minutes just so the flavours combine

  9. Scrap all the squash flesh from its skin and put into a blender jug (I use the Wildside jug for the Blendtec).

  10. Add in the coconut milk, water, ginger, onion/paprika mix and 4 of the roasted garlic cloves (you will have a few roasted cloves left which you can spread on some crackers or put on top of your veggies… yum).

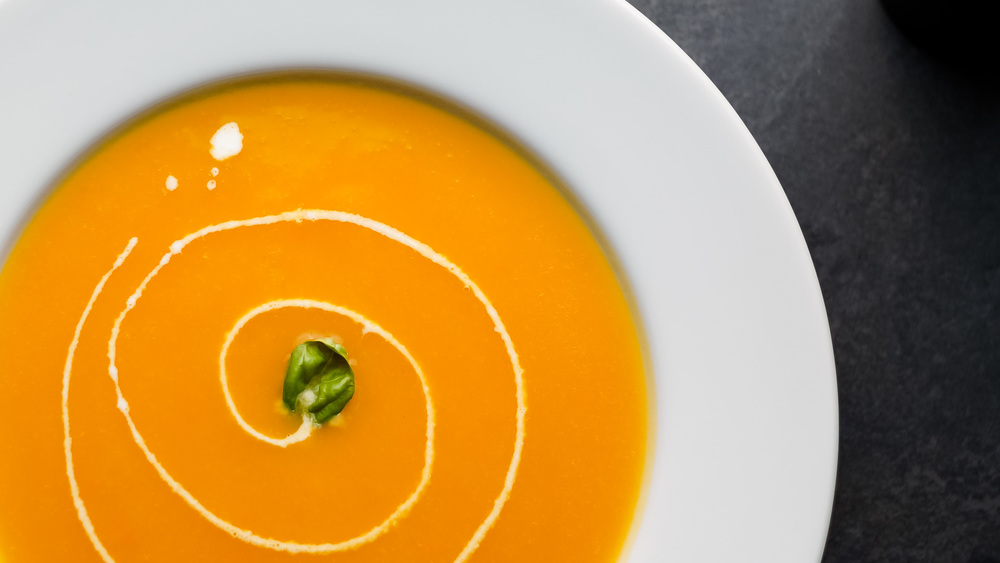
  11. Blend everything up together until it is creamy and smooth – you may have to do it in two batches. Season with sea salt and pepper and if it’s too thick, add some more water or coconut milk.

  12. Now warm up a bowl of this heartwarming delight….you deserve it :)


Creamy Wild Mushroom Soup

PREP TIME: 20 minutes     COOK TIME: 35 minutes     SERVES: 4 

As soon as Autumn comes knocking, out comes my Creamy Wild Mushroom Soup. It always hits the spot with its satisfying and earthy flavors. If you are a mushroom fan but not a dairy fan, this soup is for you; the brown rice adds a thickness and smoothness that easily replaces the cream and makes the soup more alkaline and nourishing. Also there's no need to spend too much time dicing and slicing as everything is going into the blender  = more time for you! 

Nutritional Bites

Selenium, a key mineral found in crimini mushrooms plays a vital role in the health of our thyroid gland (small gland at the base of our neck). Thyroid hormone production affects many area of our lives, to name a few - weight, sleep, sex drive and how fast our heart beats.  Making sure our daily selenium requirement is met is especially important right after pregnancy and after menopause when thyroid issues tend to be more prevalent. 

ingredients

1 tablespoon ghee (clarified butter) OR coconut oil
4 shallots, roughly chopped (about 1 cup)
3 garlic cloves, minced
All the stalks of a bunch of parsley/cilantro, roughly chopped
10 ounces crimini mushrooms, roughly sliced
6 ounces shiitake mushrooms, rough stalk ends removed, roughly sliced
1/3 cup short grain brown rice
5 cups vegetable, chicken stock or water (filtered) 
1 teaspoon of lemon juice
Celtic sea salt and black pepper to taste
Parsley for garnish

Let's Cook!

  1. Melt the ghee or coconut oil in a medium size saucepan, then add the shallots and saute for 5 minutes, until they are soft

  2. Next, add the garlic and cook for a few minutes, then increase the heat and add the parsley/cilantro stalks, the crimini and shiitake mushrooms, stirring frequently

  3. When the mushrooms start to soften, add the stock or water, brown rice, sea salt and pepper

  4. Bring to the boil, and reduce the heat, simmering for 34-40 minutes or until the rice is tender

  5. Take the soup off the heat and let it cool down before blending. I like to keep a 1/2 cup to the side so that once everything is blended up, I add it back in to give the soup some texture and a few juicy mushrooms pieces.

  6. Just before serving, squeeze some lemon juice into the soup and this will really brighten it up. You can garnish with parsley at this point.

Note: If you want to serve this soup (which I do, often) as a dinner party starter, forget the lemon and drizzle some truffle oil over the top. It's a beautiful flavour combination and offers a sophisticated touch. (Dairy lovers may also like to sprinkle over some parmesan cheese.) 

Anti-Aging Bone Broth

PREP TIME: 15 MINUTES     COOK TIME: 24 HOURS  MAKES 2+ LITRES OF BROTH

NUTRITIONAL BITES

As the current media darling of youthful skin and weight loss, you may have already heard of the proclaimed benefits of bone broth. 

According to Dr Kerryann Petrucci, New York Times best-selling author of 'The Bone Broth Diet', "When you eat bone broth, you’re really eating cooked collagen. This is a powerful way to restore collagen in your skin and make those wrinkles disappear. Sure, you could find a lot of products with "collagen" on the label, but dietary collagen is more potent — it mainlines collagen to your cells. Additionally, the gelatin derived from the collagen you get in bone broth heals your digestive tract which is a surefire way to prevent inflammation and aging skin."  

I always like to use a crock pot to make my broth as I can leave it to cook safely for the maximum amount of time, with no worries. 

INGREDIENTS

3 pounds of chicken (pasture-raised or organic) wing tips, neck and backbone (get the butcher to bundle it up for you)
2 tablespoons of apple cider vinegar
2 large onions, peeled, ends cut off and cut in half
3 large carrots, peeled and cut in half
4 sticks of celery, cut to fit the pot
1 leek, rough top leaves removed and cut into quarters
4 bay leaves
6 black, white or green peppercorns
2 inches of ginger, whole
1 teaspoon of Celtic sea salt
Cold water to cover chicken (preferably filtered)

*Many recipes call for chicken feet to provide extra gelatin. Let me assure you, they are extremely hard to find and with the chicken parts I'm using in this recipe, you will have plenty of gelatin, so I don't want you to stress. :) 

LET'S COOK!

  1. Pop the chicken pieces into your slow cooker (or a large stock pot) with just enough cold water to cover it (approximately 12 cups). Add in the apple cider vinegar and let this stand for 45 minutes. This is a crucial step as the vinegar helps extract the valuable minerals from the bones and makes them available for you!

  2. Add in all the remaining ingredients and set the crock pot on high heat for 2 hours then change to low heat (lid on) for 22 hours. If you don't own a crock pot, just use a large stock pot with a tight fitting lid, bring to the boil and turn down to simmer for 24 hours (lid on).

  3. Occasionally check the broth and if you see any scum floating on the surface, simply remove it with a ladle. Remember to put the lid back on!

  4. After 24 hours, you are ready to sieve your broth, removing the veggies, so place a large fine-meshed sieve over a suitably sized heat-proof bowl (I like to use a large pyrex measuring jug) and place it in the bottom of the sink; this way you don't have to worry about spills. Have 3 x 1 liter size mason jars standing by the sink, ready to pour the strained broth into.

  5. Carefully (it's still hot) carry your stock pot or crock pot over to the side of the sink and pour the stock into the sieve until you have sieved all the broth. You may have to stop half-way through to pour the already-strained broth into a mason jar.

  6. Cool the broth to room temperature then pop into your fridge leaving the lids off the mason jars, allowing the broth to cool down. After several hours, the chicken fat will rise to the top of the mason jars - go ahead and discard it (otherwise the broth will be very greasy).

  7. You can keep the broth in the fridge for up to 3/4 days OR you can transfer it into several glass pyrex dishes and place in your freezer where it will keep for several months.

Note: When you pull the chicken broth from the fridge it should have the consistency of jello (which is the gelatin) which is exactly what you are looking for. However, once you heat it, it will return to a liquid state. I like to drink this broth every day, either just as it is or sometimes I add greens, like kale or bok choy, right at the end of heating it up (so as not to destroy the nutrients) as these fresh veggies boost the flavor and nutritional value.

Roasted Red Pepper and Butternut Squash Soup

PREP TIME: 40 minutes     COOK TIME: 30 minutes     SERVES: 4-6

My sister Olivia served me this delicious soup whilst I was up visiting her in Scotland many years ago and I loved it! (Thanks Olivia!) 

I've since made a few BRIT BEET tweaks and recently served it at a special family dinner; it got rave reviews. I love it's unique flavour twist thanks to the roasted red peppers, plus the colour is really inviting. It's a really a beautiful Fall soup. 

Nutritional Bites

  • Butternut squash has a hefty amount of fiber helping to keep our waists trim and skin glowing.

  • It also has a high amount of vitamin C that helps boost our immune systems; maybe that's why ingenious Mother Nature makes it available come Fall, when the colds and flus hit.

Ingredients

3 red peppers
1 large butternut squash
2 large carrots, roughly chopped
1 large yellow onion
2 small cloves of garlic, minced
2 tablespoons of butter, coconut or olive oil
2-3 cups of vegetable or chicken stock, depending on how thick you like your soups

Let's Cook!

  1. Put the oven on at 400F. Cut the red peppers in halves and take out the little pips and any white pith (which is quite bitter). Place the peppers on a baking tray and bake for 20 minutes. Once cooked, pop them in a glass jar with a lid, to cool down. Remove charred skin and put aside.

  2. Whilst the peppers are doing their stuff in the oven, roughly dice up the onion, carrots and squash. With the squash being so tricky to handle, I find it easiest to cut the top and bottom off and then place it cut side down on my chopping board so that it does not roll around. Then I take a sharp knife and shave off the skin starting from the top and working down. Once the peel is off, I slice downwards into thick strips and then place these flat strips on the board and cut into smaller 1-2" pieces. You don’t have to be exact since you are going to puree the whole thing up anyway.

  3. Heat the oil in a large pan on the medium heat, then add the chopped onion and allow to cook for a few minutes.

  4. Next add the squash, carrots and garlic, cooking for a few more minutes, then pour in the stock.

  5. Bring to a gentle boil, before turning down to simmer for 10-15 minutes, just to soften the veggies. Lastly, add in the roasted red peppers.

  6. In a high-speed blend, puree up the soup till smooth and creamy. Season with salt and pepper.

  I usually serve the soup piping hot with a sprinkle of  chopped chives and a swirl or dab or my Sweet Maple Cashew Cream - simply delicious! 

Nona's Cream of Spinach Soup

PREP TIME: 5 MINUTES    COOK TIME: 25 MINUTES    SERVES: 6

My mother, affectionately known as ‘Nona’, kindly gave me this wonderfully easy recipe that she often serves at her dinner parties.  It’s a great way to get the children to eat the “yucky green stuff”- I just tell them it is a pea soup and it seems to do the trick! Instead of adding cream, I keep it dairy-free and add a swirl of cashew cream. 

NUTRITIONAL BITES

Spinach is an fantastic source of iron and a rich source of phytonutrients (plant nutrients) that provide antioxidant protection against damage to cell structures. 

INGREDIENTS

1 pound fresh spinach
2 ounces (4 tablespoons) of organic butter or organic coconut oil (not extra virgin coconut oil as this has a much more pronounced coconut flavour!)
1 small yellow onion, chopped
600 ml of stock (chicken is the most tasty)
2 tablespoons fresh lemon juice
1 bay leaf
2 tablespoons of spelt or whole wheat flour (if gluten intolerant, use brown rice flour)
3/4 teaspoon Celtic sea salt and freshly grated black pepper

Let's Cook!

  1. Wash and drain the spinach and discard the thick stalks

  2. In a large pan (that has a lid), melt half the butter or coconut oil and sauté the chopped onions, until soft; be careful not to burn them – easily done!

  3. Toss in all the spinach and sauté with butter/oil and onions, mixing well. Add the stock, lemon juice, bay leaf, sea salt and pepper and bring to the boil then simmer for 5- 10 minutes with the lid on- the less you cook the spinach, the more antioxidants are preserved

  4. As soup is simmering, make a ‘roux’ with the flour and remaining butter - melt the butter on low heat in a pan then add the flour a little at a time making sure you stir well to remove any lumps; the roux will start to come away from the edge of the pan which is what you want. Allow the roux to cook for a few minutes

  5. Take out the bay leaf (otherwise it will be crunchy cream of spinach soup) and liquidize – be careful as the soup will be hot. Then take out one tablespoon of stock from the soup and mix it into the roux, repeat this step again (if you just add the roux into the soup it could turn into a giant dough ball!) Once the two tablespoons of roux have been mixed in well and there are no lumps, add this slowly to the soup, stirring well

  6. Bring the soup back to a simmer to 'cook out' the roux

  7. Allow the soup to cool and then liquidize until it is a smooth, velvety bowl of beauty

  8. Voila – your soup is complete. You can either serve this hot (winter) or cold (on summer evenings, with diced chives or mint on top) Add a swirl of cashew cream (see my recipe below) - it takes the look of the soup to a whole new beautiful level


***SAVOURY CASHEW CREAM

This is a wonderfully simple replacement for sour cream or mayonnaise. 

INGREDIENTS

1 cup organic raw cashews

Water to cover

¼ teaspoon of Celtic sea salt

1 teaspoon of lemon or lime juice 

LET'S COOK!

  1. Soak the cashews in filtered warm water for about 4 hours (if you soak them overnight for 8/10 they become too mushy)

  2. Drain away the soaking water, then toss the cashews into a blender with ¼ cup of filtered water, sea salt and juice

  3. Blend until smooth and creamy. If the cashew cream is too thick, add more water – 1 teaspoon at a time. You want this cashew cream to be fairly runny so that you can make your signature swirl. Experiment with using a tincture dispenser for creating the swirl - it works really well.